Tools
Working with Sym
Layers
Split a composition into stacked layers, each with its own background and its own position on the canvas.
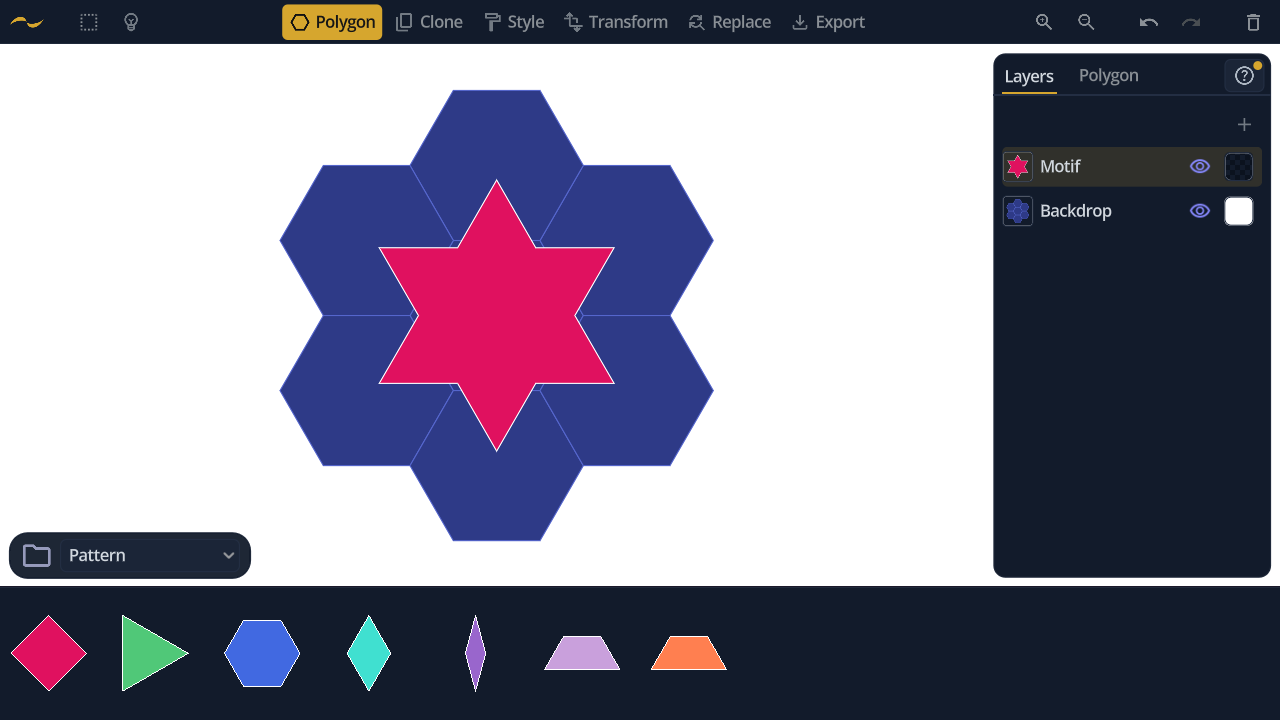
One layer is always active, and it is the layer every tool draws into. Selection, Ctrl+A and Clear Canvas all stay within it, so a finished layer can't be disturbed while you work above it.
- Add — the + in the Layers panel adds a layer above the active one.
- Reorder — drag a row; layers higher in the list draw in front.
- Rename — give a layer a name that says what it holds.
- Hide — toggle a layer's visibility to check what sits behind it.
- Delete — remove a layer and everything on it.
Every layer carries its own background. A transparent one lets the layers beneath show through; an opaque one turns that layer into a backdrop for everything above it. Backgrounds are part of what the Export tool writes out.
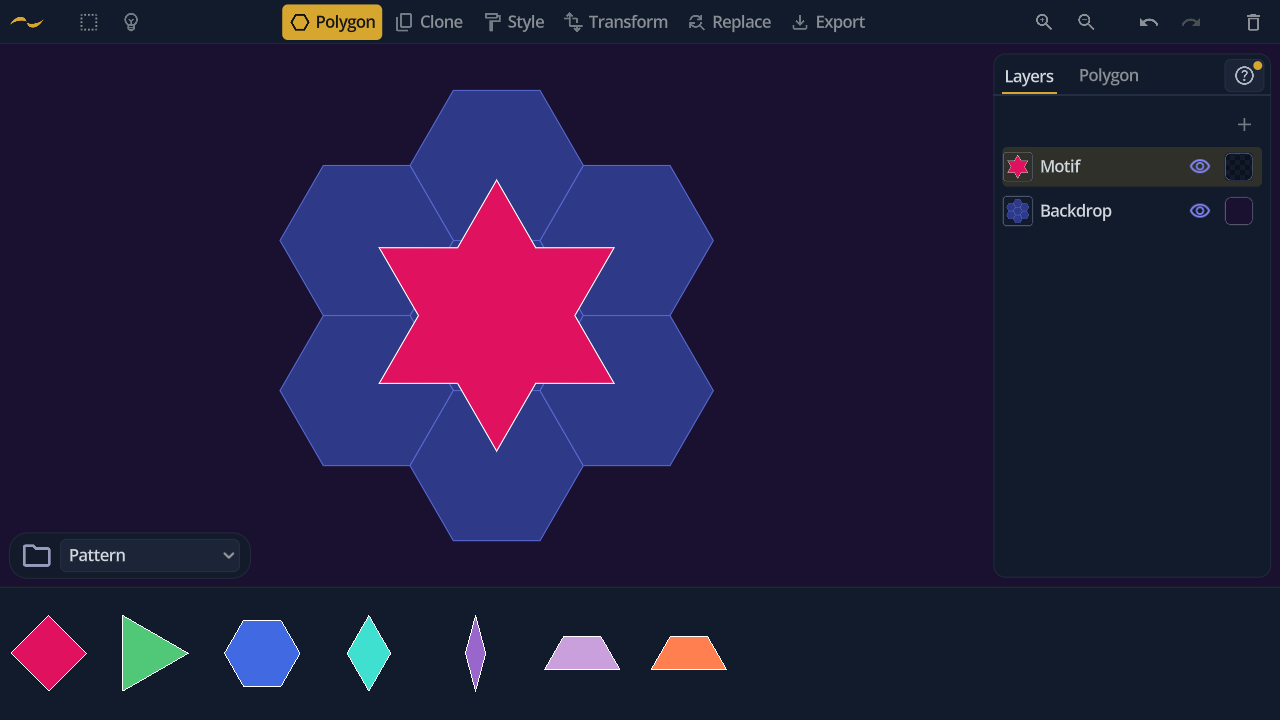
With nothing selected, the Transform tool moves, scales and rotates the active layer's entire contents as a unit — independent of the canvas view, so panning and zooming don't disturb it. Useful for nudging a whole element into register with the layer beneath.
Once part of a composition deserves its own layer, select those shapes and either extract them — moving them up to a new layer — or copy them, leaving the originals where they are. Both actions live on the selection pill.